Work environments. But to tap into this convenience fully, one must know how to set them properly. This blog post will guide you through the straightforward process of setting a digital clock using just How to Set a Digital Clock With 4 Buttons. We’ll cover everything from entering the time setting mode and adjusting the hours and minutes, to setting additional features like alarms and the date, if applicable. Whether you’re setting up a new device or adjusting an old one, these steps will help ensure your digital clock serves you well.
Identifying Your Clock’s Buttons

Most digital clocks feature a simple and intuitive interface with four primary buttons: Mode, Set, Up, and Down, which facilitate easy configuration and adjustment. The ‘Mode’ button typically cycles through the clock’s various functions, such as switching between time, alarm, and sometimes temperature or timer modes. It often acts as a gateway to accessing different settings. The ‘Set’ button is crucial for making adjustments; use it to enter the editing mode for the current function, allowing you to alter settings like time, date, or alarm. The ‘Up’ and ‘Down’ buttons are straightforward: increase or decrease the displayed values, respectively, whether you’re setting the time, adjusting alarm volume, or configuring other settings. Together, these buttons provide complete control over your clock’s features, enabling you to customize its functions to fit your needs efficiently.
Step-by-Step Instructions to Set the Time
Entering Time Setting Mode
To begin setting the time on your digital clock, you first need to enter the time-setting mode. This is usually accomplished by pressing either the “Mode” or “Set” button. Start by pressing and holding the “Set” button until you see the numbers on the clock start to blink; this indicates that the clock is in time-setting mode. If your clock uses the “Mode” button to access this setting, press the “Mode” button repeatedly until the time function is selected, often indicated by the hour or minute numbers flashing on the display. Once in this mode, you are ready to adjust the time to the correct settings.
Setting the Hour

Setting the hour on a digital clock is a straightforward process that requires a few simple steps. First, press the ‘Mode’ button repeatedly until the clock display indicates that you are in time setting mode, often represented by a blinking hour digit. Once in this mode, use the ‘Set’ button to activate the hour adjustment. The hour digits will typically begin to blink, indicating they are ready to be changed. To adjust the hours, press the ‘Up’ or ‘Down’ buttons to increase or decrease the hour value. If your digital clock operates on a 12-hour format, continue pressing the ‘Up’ button past 12 to switch between AM and PM. Once you have set the correct hour, press the ‘Set’ button again to move to setting the minutes, securing the hour in place.
Setting the Minutes

To accurately set the minutes on your digital clock, begin by pressing the Mode button until the minute digits start blinking, indicating that you are in the correct setting mode. Once the minutes are flashing, use the Up or Down buttons to adjust the minute value to the correct time. Pressing the Up button will increase the minutes, while the Down button decreases them. Some clocks allow for faster adjustments by holding the button down, which can be useful if you need to change the minutes significantly. After setting the minutes to the desired value, press the Set button to confirm and lock in your changes. This step ensures that the time displayed is precise and reliable, reflecting the exact minute you intend.
Confirming the Time

After adjusting the settings on your digital clock, confirm the time and ensure you save your changes for accurate timekeeping. Set the time, date, or alarm, then properly exit the setting mode to save these adjustments. Typically, press the ‘Set’ or ‘Mode’ button one final time after making your last change. Some clocks automatically save and exit the setting mode after a few seconds of inactivity, committing all changes.
Always ensure you see a confirmation on the display, such as the time ceasing to blink or a sound cue, indicating that the clock has exited the setting mode and saved your configurations. Completing this step is crucial to avoid losing all the adjustments you’ve just made. Double-check your changes to ensure secure application before moving on with your day.
Adjusting Other Settings (If Applicable)
Setting the Date
Once you have adjusted the hours and minutes to the correct time on your digital clock, the final step is to confirm and save these changes. This is typically done by pressing the Set button again or sometimes the Mode button, depending on the specific model of your clock. Read, What is Digital and Analog Clock. Pressing the appropriate button will exit the time setting mode and secure your settings, ensuring that the clock begins to operate with the new time. It’s important to make sure that the screen returns to its normal display mode, which indicates that the settings have been successfully saved. If not done correctly, the clock might revert to the previous settings, requiring you to repeat the process. Always refer to your clock’s specific instructions as button functions can vary slightly between models.
Setting an Alarm

Setting an alarm on a digital clock with an alarm function is a straightforward process that can help you manage your schedule effectively. To set an alarm, start by pressing the Mode button until the alarm icon or the word “Alarm” appears on the display, indicating the alarm setting mode. Once in this mode, press the Set button to begin adjusting the alarm time. Use the Up and Down buttons to select the desired hour and then press Set again to move to the minutes.
Adjust the minutes in the same way. After setting the correct time for your alarm, press the Set button once more to confirm and save the settings. Some clocks may also allow you to choose a specific alarm tone or set multiple alarms, depending on your needs. Activate the alarm, often indicated by an alarm symbol visible on the display, to verify that your clock is set to alert you at the specified time.
Using Additional Features
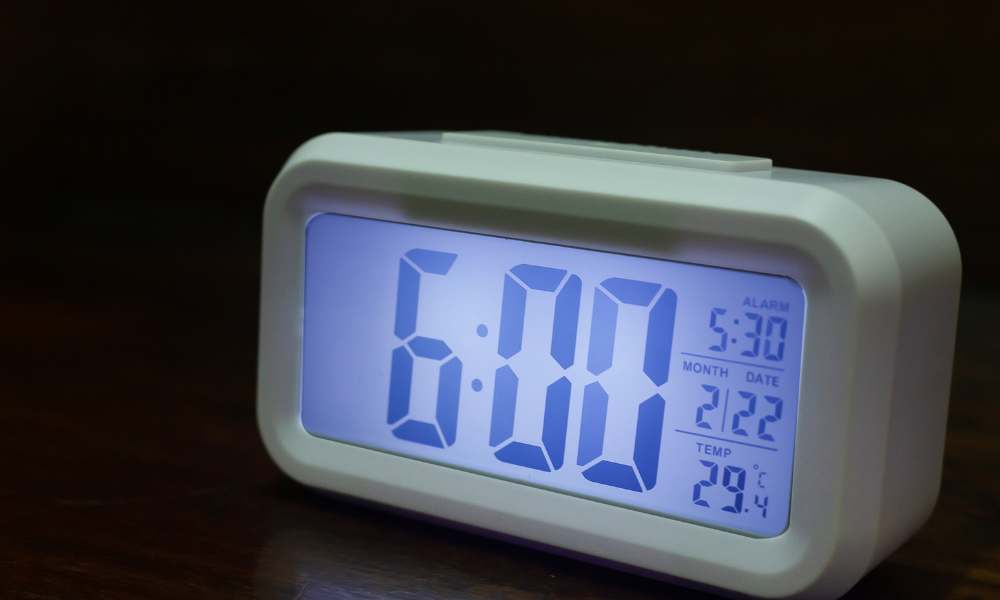
Many digital clocks come equipped with additional features that enhance their utility beyond merely displaying time. A common extra feature is the temperature display, which provides ambient temperature readings, often in both Celsius and Fahrenheit. This can be particularly useful for planning your day, especially in environments where temperature changes are significant. Another handy feature is the backlight setting, which improves the visibility of the display in low-light conditions, making it easier to check the time during the night or in dimly lit rooms. Accessing and adjusting these features typically involves navigating through the Mode options, allowing you to personalize the clock settings to suit your preferences and needs.
Troubleshooting Common Issues

Encountering issues with digital clocks can be frustrating, but many common problems have simple solutions. If the buttons on your clock are not responding, it could be due to dirt accumulation or wear. A gentle cleaning of the button area with a soft cloth can often restore functionality. If your clock unexpectedly resets, this typically indicates a power issue.Ensure the clock is securely plugged in. If it operates on batteries, consider replacing them. Regularly replace batteries before they run out completely to prevent inaccurate timekeeping or reset issues. Always use the recommended battery type and insert them correctly according to the polarity marked inside the battery compartment. Regular maintenance, like checking battery health and cleaning the device, will help ensure your digital clock functions correctly over time.
Final Thought
In this guide, we’ve walked through the essential steps to set your digital clock using the four basic buttons: Mode, Set, Up, and Down. We’ve also explored how to enter and exit the time setting mode, adjust the hours and minutes, and how to utilize additional features such as the temperature display and backlight. Additionally, we discussed troubleshooting common issues like unresponsive buttons and unexpected resets, along with tips for regular maintenance such as battery replacement.
Mastering these settings not only ensures that your clock displays accurate time but also enhances your daily convenience. Whether it’s waking up on time, staying on schedule, or simply enjoying the added features your clock offers, the knowledge you’ve gained today can significantly impact your routine. I encourage you to apply these steps to your digital clock, tailor the settings to fit your needs, and enjoy the benefits of a well-set clock in your everyday life.

