Setting a digital clock may seem straightforward, but when it comes to models with just three buttons, a bit of guidance can make the process smoother. If you’ve ever found yourself puzzling over “How to set a digital clock with 3 buttons?” this article is for you. We’ll take you through each step, from understanding the functions of each button to successfully adjusting the time and other settings. Whether you’re setting up a new clock for the first time or need a quick refresher, our simple, step-by-step guide ensures that your digital clock is set accurately and efficiently, saving you time and frustration. Let’s get your clock ticking right in no time!
Understanding the Buttons

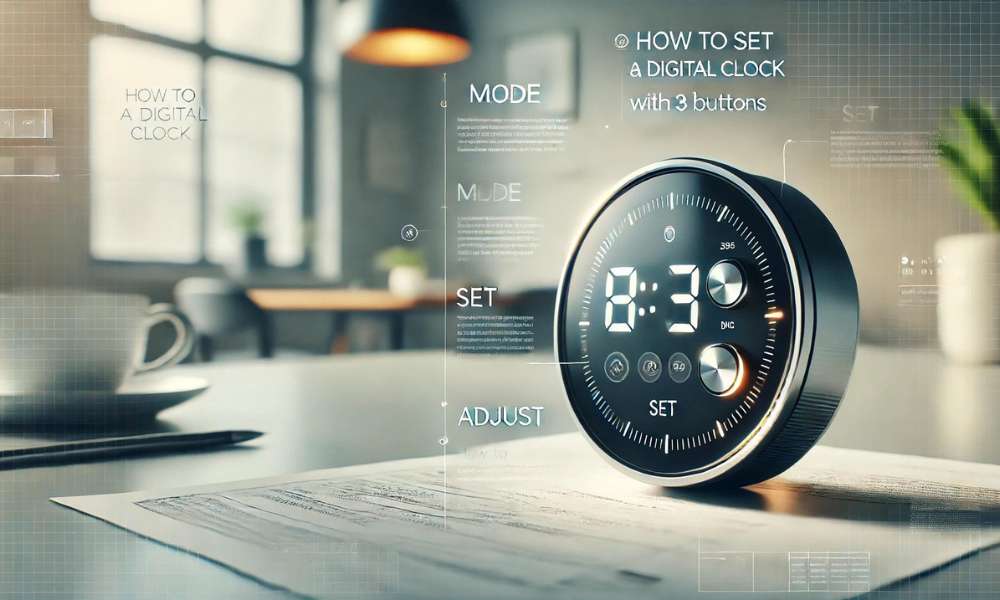
Navigating the setup of a digital clock is simpler when you understand the functions of its three main buttons. Typically, these include the ‘Mode’ button, which allows you to switch between time, alarm, and other settings; the ‘Set’ button, used to initiate and save changes; and the ‘Up/Down’ or ‘+/−’ buttons, which adjust the values such as time and alarm. Familiarizing yourself with these buttons is the first step in efficiently setting up your digital clock. Whether you’re setting the time or configuring an alarm, knowing which button performs what function streamlines the process, making it a hassle-free task.
Starting the Setup Process
To begin setting your digital clock with three buttons, the first step is to enter the setup mode. This is typically achieved by pressing and holding the ‘Set’ button. Depending on the model, you might need to hold this button for a few seconds until the display indicates that the clock is in setup mode, often signaled by a blinking number or a special icon. This mode allows you to modify the time and other settings. Make sure the clock is powered and functioning properly before you start, to ensure that all changes are registered correctly. Once in setup mode, you’re ready to adjust the time to your liking.
Setting the Hour

Setting the hour on your digital clock with three buttons is a quick and straightforward process. Begin by pressing and holding the ‘Set’ button until the hour digits start blinking, indicating that you’re in edit mode. Use the ‘Up’ or ‘Down’ buttons to adjust the hour to the correct time. If your clock operates on a 12-hour cycle, continue pressing until you cycle through the hours and the AM or PM indicator changes to the appropriate setting. Once you have the hour set correctly, press the ‘Set’ button again to save your changes. This simple method ensures your clock displays the accurate hour, whether it’s morning or evening.
Setting the Minutes

Adjusting the minutes on your digital clock with three buttons is a simple process that ensures your time is always accurate. After setting the hour, typically, you’ll either press the ‘Set’ button again or use the ‘Mode’ button to shift focus to the minutes. Once the minutes start blinking, use the ‘+’ or ‘-‘ buttons to increase or decrease the value to the correct minute. Be mindful of AM and PM settings if your clock displays them. Press ‘Set’ once more to save your adjustments. This easy step not only enhances your clock’s accuracy but also helps you stay perfectly aligned with your schedule.
Adjusting Seconds (if applicable)
Adjusting the seconds on a digital clock with three buttons is a straightforward task that can enhance the precision of your timekeeping. If your clock allows for second adjustments, this is typically done while setting the minutes. After you have set the minutes, press the designated button—often the same one used to adjust the minutes or a separate ‘Reset’ button. This action will zero out the seconds, synchronizing your clock to the precise moment you set it. This feature is particularly useful for ensuring accuracy, especially when you need to coordinate with an exact time, like setting alarms or coordinating with other time-dependent devices.
Setting Additional Features

Setting additional features on your digital clock can enhance its utility beyond just telling time. Many digital clocks allow you to set alarms and adjust day/date settings using the same three buttons. Typically, you’ll access these functions by pressing the ‘Mode’ button until you reach the desired feature. Once there, use the ‘Set’ button to enter the adjustment mode. From here, the ‘+’ and ‘-‘ buttons (or similar) will enable you to choose your settings for alarms or adjust the date. Confirm each setting by pressing ‘Set’ again. This streamlined process makes it easy to customize your clock’s functionalities to suit your daily needs, ensuring you never miss an important date or appointment.
Exiting Setup Mode
Exit setup mode on your digital clock as the final step to save your settings and ensure your clock runs according to your adjustments. After setting the time, alarm, or any other features your clock offers, simply press the ‘Set’ button once more to save all changes. If your model doesn’t require a final button press, it may automatically exit setup mode after a few seconds of inactivity. This feature locks in your settings, even if you forget to manually exit the mode. By following these simple steps, you can rest assured that your digital clock is accurately set to keep you on schedule.
Troubleshooting Common Issues

Encountering issues when setting your how to set a digital clock with 3 buttons can be frustrating, but you can quickly fix the most common problems. If your clock does not enter setup mode, reset it by removing the power source or batteries for a few minutes before trying again. This often resolves system glitches. For buttons that aren’t responding, ensure they aren’t stuck and clean the clock to remove any dust. Additionally, check the battery power; weak batteries may not provide enough power for the buttons to function properly. Following these troubleshooting tips will help you adjust your digital clock settings smoothly and accurately.
Conclusion
In conclusion, mastering how to set a digital clock with 3 buttons is a useful skill that can save you time and hassle. By understanding the functions of each button and following the correct sequence, you can easily set the time and other features on your clock. Remember to troubleshoot common issues, such as unresponsive buttons or setup mode problems, by checking the power source and ensuring the clock is clean. With these tips, you can keep your digital clock running accurately and efficiently. Whether you’re setting up a new clock or adjusting an existing one, this guide ensures you’ll never have to wonder about the correct time again.

