
Setting a digital clock on your Apple Watch is a simple yet effective way to enhance your device’s functionality and user experience. Whether you prefer the sleek look of a digital display or find it easier to read, switching to a digital clock is a quick process. In this guide, we’ll walk you through the steps to set your Apple Watch to a digital clock. Additionally, we’ll cover troubleshooting tips for common issues you might encounter. Follow our easy instructions to transform your Apple Watch into a modern, convenient timepiece. Keep reading to learn how to set a digital clock on your Apple Watch.
Types of Digital Clocks

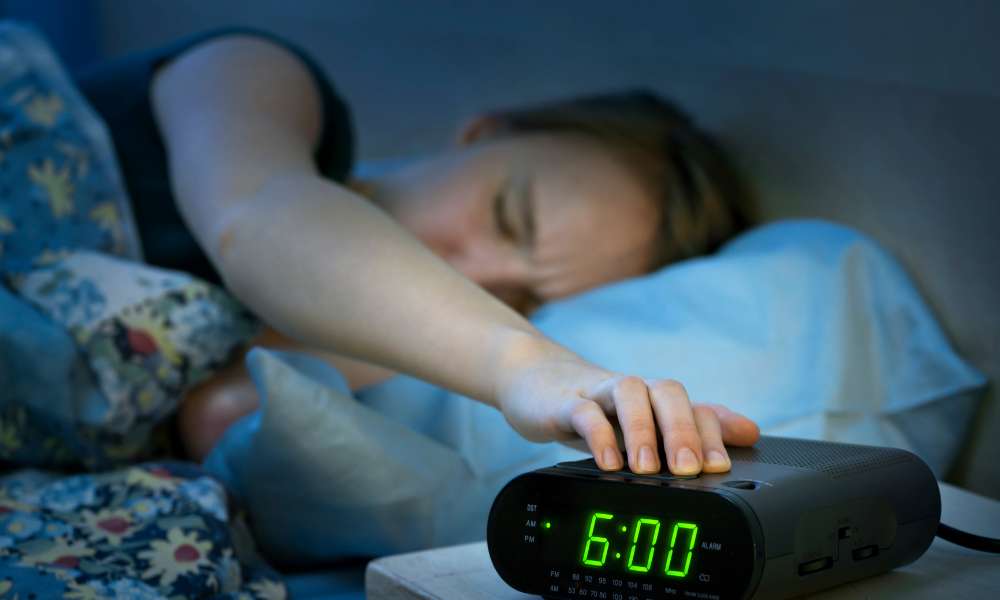
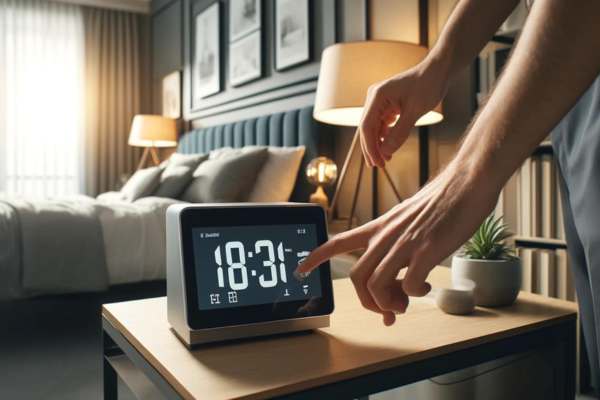
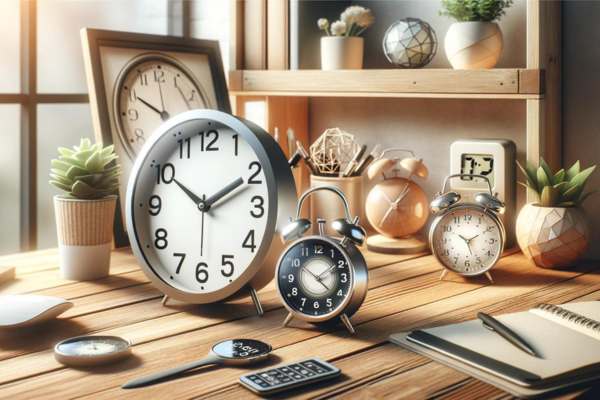
Digital clocks come in various types, each offering unique features to suit different needs. Basic digital alarm clocks are perfect for bedside use, offering simple time and alarm settings. Smart digital clocks connect to Wi-Fi, providing features like weather updates, reminders, and voice control. Wall-mounted digital clocks are ideal for offices and public spaces, offering large displays for easy visibility. Travel digital clocks are compact and portable, designed for easy time setting on the go. When setting any digital clock, refer to the specific instructions provided for each type to ensure accurate timekeeping. Choose the right digital clock to match your lifestyle and preferences.
Basic Steps for Setting a Digital Clock
Setting a digital clock is a simple process once you familiarize yourself with the common controls typically found on these devices. Most digital clocks feature a set of basic buttons: ‘Set’ or ‘Mode’, ‘Up’, and ‘Down’. These controls allow you to enter the setup mode and make adjustments. To set the time, start by pressing and holding the ‘Set’ or ‘Mode’ button until the hour digits begin to blink. This indicates that you are in edit mode.
Detailed Instructions Based on Clock Types
Digital clocks vary widely in their designs and settings, particularly when comparing standalone units with those integrated into appliances. For standalone digital clocks, such as typical alarm clocks and desk clocks, the setting process often involves interacting with a few clearly labeled buttons. After entering the setup mode via the ‘Set’ or ‘Mode’ button, you can easily adjust the hours and minutes using ‘Up’ or ‘Down’ controls, with additional settings available for alarms and other notifications.
On the other hand, clocks integrated into appliances, like microwaves and ovens, require navigating through more complex menus due to their multifunctional nature. Typically, you would start by pressing a ‘Clock’ or ‘Timer’ button, followed by setting the time using a combination of ‘Start’, ‘Stop’, or numeric keypad inputs, which not only control cooking functions but also adjust the clock settings. Understanding the specific sequence and buttons for each device is crucial, as it ensures that both time management and appliance functionality are optimised.
Troubleshooting
Setting a digital clock can sometimes present challenges. If your clock fails to save settings, ensure you hold down the ‘Set’ or ‘Mode’ button long enough during the initial setup. Additionally, don’t skip the final confirmation step. If the display is incorrect, double-check the time format (AM/PM or 24-hour) and adjust accordingly. For clocks with backup batteries, make sure they are properly installed. If issues persist, consult the user manual for specific instructions related to your model. Regularly updating the clock’s firmware can also prevent problems. Follow these troubleshooting tips to ensure your digital clock functions correctly.
Advanced Settings
Mastering the advanced settings of your digital clock enhances its functionality. Begin by accessing the settings menu, often by holding the ‘Set’ or ‘Mode’ button. Look for options like alarm setup, time zone adjustments, and display preferences (12-hour or 24-hour format). Some digital clocks offer features like temperature display, calendar integration, or backlight customization. Ensure you save each setting by following the specific confirmation steps. Regularly updating your clock’s firmware can unlock new features and improve performance. Understanding these advanced settings allows you to customize your digital clock for an optimal and personalized experience.
Maintaining Accuracy

Maintaining the accuracy of digital clocks is crucial for reliable time management. Many modern digital clocks can sync their time automatically using radio signals or internet connectivity, ensuring they always display the precise time without manual intervention. If your clock has this feature, ensure it’s activated and check that it’s receiving the signal or connection correctly. For clocks without automatic updating capabilities, regular manual adjustments are necessary. This is particularly important around changes for daylight saving time or if you notice any drift in the time displayed. To manually update a clock, access the time-setting mode as previously described and adjust the hours and minutes as needed to match an accurate time source, such as an internet-based time service or GPS-controlled device. Keeping your digital clock accurate not only helps with your daily schedule but also prevents any potential confusion or scheduling errors caused by incorrect timekeeping.
Final Thought
Understanding how to properly set and maintain a digital clock is essential for managing our daily routines effectively. We’ve covered the basic steps for setting the time, which include navigating through common controls like the ‘Set’, ‘Mode’, ‘Up’, and ‘Down’ buttons. We also explored more detailed instructions tailored to different types of digital clocks, such as standalone units, appliance-integrated clocks, and automotive clocks. Additionally, troubleshooting common issues and leveraging advanced settings like alarms, snooze functions, daylight saving adjustments, and choosing between 24-hour and 12-hour formats can greatly enhance the functionality of your digital clocks. Maintaining accuracy through either automatic updates or regular manual checks ensures your clock remains a reliable resource. Mastering these aspects of digital clock management not only ensures precision in timekeeping but also supports a structured and efficient daily schedule.