

A malfunctioning wall clock can disrupt your daily routine and aesthetics. If you’re wondering how to fix wall clock hands, this guide will walk you through the process. Wall clocks, though reliable, sometimes experience issues with their hands, such as becoming stuck or misaligned. Understanding the basics of clock mechanics can save you time and money. In this comprehensive guide, we’ll explore simple, step-by-step instructions to help you restore your wall clock to perfect working condition. Whether you’re a DIY enthusiast or just someone looking to save on repairs, our tips will ensure your clock ticks smoothly again. Let’s dive in and fix those clock hands efficiently!
Tools and Materials Needed
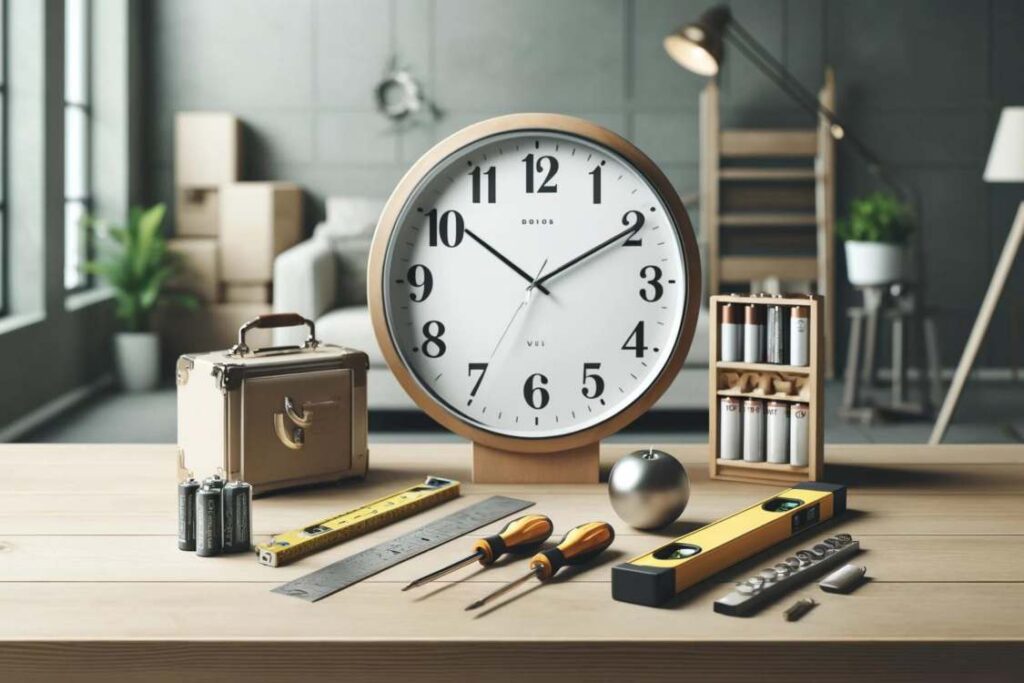
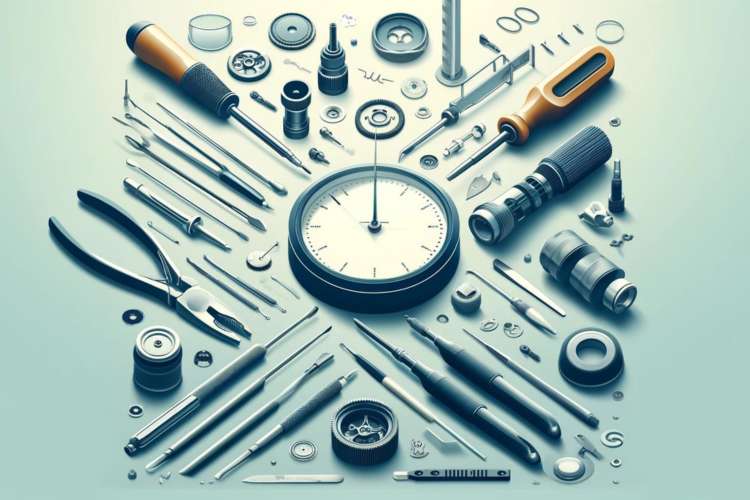
Fixing wall clock hands requires a few essential tools and materials to ensure a smooth repair process. Begin with a set of small screwdrivers, perfect for handling the delicate screws in clock mechanisms. Pliers are crucial for adjusting and realigning the hands without causing damage. Lubricants, specifically designed for clock movements, help in reducing friction and ensuring smooth operation. Additionally, having a soft cloth on hand is useful for cleaning and handling parts without scratching them. Lastly, a magnifying glass can be beneficial for precise adjustments, especially with intricate clock components. With these tools and materials, you’ll be well-equipped to fix your wall clock hands efficiently and effectively.
Preparatory Steps Before Starting Repairs
Before starting repairs on your wall clock hands, follow these preparatory steps to ensure safety and efficiency. First, carefully remove the clock from the wall to avoid any damage. Place it on a soft, flat surface to prevent scratches. Next, identify the screws or clips securing the clock’s case and gently open it to access the hands. Use appropriate tools like a small screwdriver to avoid stripping screws. Once the case is open, inspect the clock mechanism for any obvious issues. Taking these precautions not only protects your clock but also makes the repair process smoother. Now you’re ready to fix your wall clock hands with confidence.
Diagnosing Problems with Clock Hands

Diagnosing problems with wall clock hands is the first step in ensuring your timepiece functions properly. Start by closely examining the clock hands to identify common issues such as loose, bent, or misaligned hands. Loose hands may wobble or fall to the bottom of the clock, causing inaccurate timekeeping. Bent hands can get stuck, preventing them from moving freely. Misaligned hands might overlap or touch, resulting in friction that disrupts the clock’s movement. To fix these issues, gently adjust the hands to their proper positions and secure them if they are loose. Recognizing and diagnosing these problems early can help maintain your clock’s accuracy and longevity.
How to Tighten Loose Clock Hands

To tighten loose clock hands, follow this simple step-by-step process. First, remove the clock from the wall and take off the battery to stop the mechanism. Next, carefully remove the clock face cover to access the hands. Locate the small nuts securing the hands to the clock mechanism. Using a small wrench or pliers, gently tighten these nuts. Be sure to make them snug but avoid over-tightening, as this can damage the mechanism. Once the hands are secure, replace the clock face cover and reinsert the battery. Finally, hang your clock back on the wall and ensure the hands move freely without obstruction. This straightforward method will keep your clock hands in place and your timepiece running smoothly.
Correcting Bent or Misshapen Hands
Correcting bent or misshapen clock hands is a delicate process that requires precision and care. To fix bent clock hands, gently remove the clock hands using a small screwdriver. Place the hands on a flat, stable surface. Use needle-nose pliers or your fingers to carefully straighten the hands, ensuring not to apply too much force to avoid breaking them. If the hands are significantly misshapen, consider using a soft cloth to cushion the pliers and protect the metal. Reattach the hands to the clock, ensuring they move freely without obstruction. This careful approach ensures your wall clock’s hands are straightened without causing further damage, restoring its functionality and appearance.
Adjusting the Alignment of Clock Hands

Adjusting the alignment of clock hands is crucial to ensure smooth operation. To fix misaligned hands, start by gently removing the clock mechanism cover. Carefully inspect the hour and minute hands for any signs of bending or damage. Next, use a pair of needle-nose pliers to adjust the hands, ensuring they are straight and not overlapping. Position the hour hand first, setting it precisely on the hour marker. Then, align the minute hand so it points to the 12 o’clock position. Test the movement by manually turning the clock’s adjustment knob. Properly aligned hands should move freely without sticking, ensuring accurate timekeeping and a smooth, functional wall clock.
Lubrication for Smooth Movement
Proper lubrication is crucial for the smooth and quiet operation of wall clock hands. To address this, apply a small amount of clock oil or a light machine oil to the clock mechanism. First, carefully remove the clock hands and back cover. Locate the gears and pivot points where the hands move. Using a precision applicator, apply a drop of lubricant to these areas, avoiding over-lubrication, which can attract dust and cause further issues. Gently reassemble the clock and test the hands for smooth movement. Regular lubrication ensures that your clock hands operate quietly and efficiently, extending the life of your timepiece and maintaining its accuracy.
Reassembling and Testing the Clock
After addressing the hands of your wall clock, reassembling it correctly is crucial for accurate timekeeping. Begin by carefully reattaching the clock hands, ensuring they are aligned properly and not touching each other. Secure any screws or fasteners that were removed. Once the clock is reassembled, place it back on the wall in its original position. Make sure the clock is level to prevent any mechanical issues. Set the correct time and observe the clock for a few minutes to ensure the hands move smoothly and keep accurate time. Check back periodically to confirm the clock continues to function correctly, ensuring your repair was successful.
Maintenance Tips to Avoid Future Issues

Regular maintenance is key to ensuring your wall clock hands function smoothly and extending the clock’s lifespan. To avoid future issues, regularly dust the clock face and hands using a soft, dry cloth. Ensure the clock is hung securely to prevent any misalignment due to shifting. Periodically check and tighten any loose screws or components. Lubricate the clock mechanism sparingly with clock oil to keep it running smoothly. Avoid placing the clock in areas with extreme temperature changes or high humidity, as these conditions can affect its performance. By following these preventative measures, you can keep your wall clock in excellent working order and enjoy its accurate timekeeping for years to come.
Final Thought
In conclusion, knowing **how to fix wall clock hands** can save you time and money while ensuring your clock remains a functional and stylish part of your decor. By following simple steps and regular maintenance tips, you can easily address common issues like stuck or misaligned hands. Remember, preventative care is crucial to avoid future problems and extend the lifespan of your wall clock. Whether you’re a DIY enthusiast or simply looking to avoid repair costs, these guidelines will help keep your clock ticking smoothly. Embrace these tips to ensure your wall clock remains a reliable and attractive timepiece in your home.