
Welcome to our comprehensive guide on “How to Fix a Wall Clock Mechanism.” Whether you’re a seasoned DIY enthusiast or a novice eager to tackle your first project, this article is tailored to help you restore your wall clock to perfect working condition. Clocks are not just timekeepers but integral parts of our home decor. Over time, however, they may encounter issues that affect their functionality. From sluggish movements to complete stops, the reasons can vary, but the solutions are often within reach. Follow our step-by-step instructions to diagnose, repair, and maintain your wall clock, ensuring it continues to tick beautifully for years to come.
Understanding the Mechanism

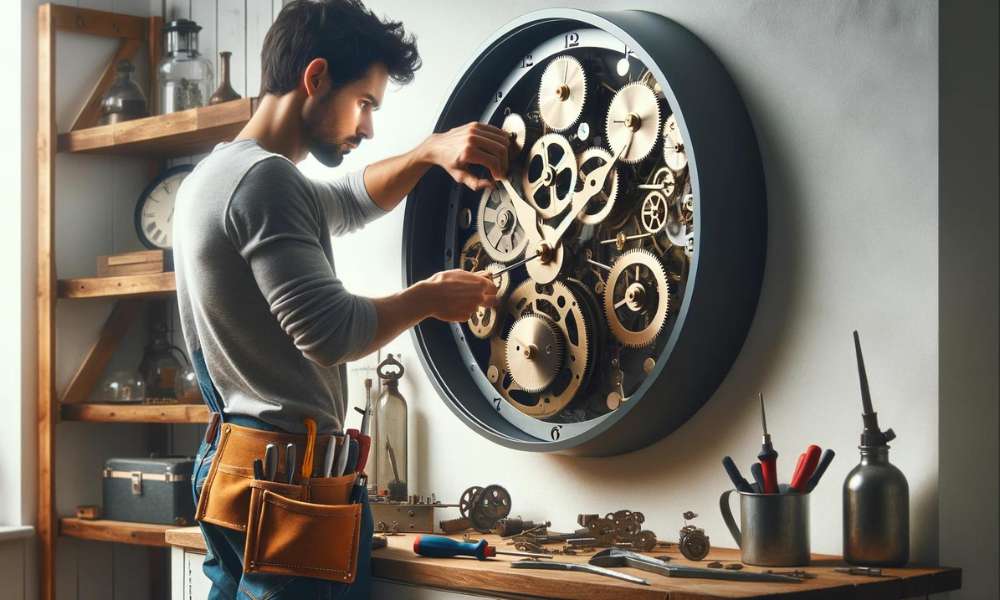
Understanding the mechanism of a wall clock is essential before attempting any repairs. At the heart of every wall clock is the movement, which orchestrates the timing and controls the hands. Accompanying this are the hands themselves—hour, minute, and sometimes second—which indicate the time. Many modern wall clocks are powered by batteries housed in a compartment within the mechanism. These components work in harmony: the battery powers the movement, which in turn drives the hands to move around the clock face at a regulated pace. Grasping how these parts interact is crucial for effectively troubleshooting and fixing any issues that might arise, ensuring your wall clock keeps time accurately.
Tools and Materials Needed
To effectively fix a wall clock mechanism, you’ll need a few essential tools and materials. Gather a set of screwdrivers in various sizes to handle different screws you might encounter. Pliers will be useful for gripping and manipulating small components. Additionally, lubricants are essential to ensure smooth movement of the clock’s parts, preventing friction and wear. You might also need replacement parts like gears or springs, which can be sourced from specialized clock repair shops or online. Having a clean, well-lit workspace and a magnifying glass can help you see intricate details, ensuring precise and accurate repairs.
Preparation for Repair

To successfully fix a wall clock mechanism, having the right tools and materials is essential. You will need a set of precision screwdrivers to handle the small screws typically found in clock mechanisms. Pliers can be useful for gripping and adjusting components gently. Additionally, a high-quality lubricant is crucial for ensuring the gears operate smoothly without friction. It’s also advisable to have a magnifying glass to better see the intricate parts, and a soft cloth to clean the mechanism without scratching it. Gathering these tools before you begin your repair will streamline the process and increase your chances of a successful fix.
Diagnosing Common Problems

Identifying common issues with your wall clock mechanism is the first step towards effective troubleshooting. Many problems, such as stuck hands, noisy operations, or inaccurate timekeeping, can often be resolved with simple fixes. Begin by observing the movement of the hands; if they’re stuck or jittery, a loose or tight fitting might be the culprit. Listen for unusual sounds, which could indicate that the gears need cleaning or lubricating. If your clock runs too fast or too slow, the pendulum or balance wheel might need adjusting. These initial assessments are crucial for pinpointing the exact problem, setting the stage for a successful repair.
Opening the Clock Case

Opening the case of a wall clock is a delicate step crucial to successful repairs. Begin by placing your clock on a soft, clean surface to avoid scratches. Most clocks have a back panel secured with screws, so use a suitable screwdriver to remove these gently. If your clock has a glass face, carefully detach it, often by unclipping or unscrewing the frame. Next, to remove the hands, gently pull them off the central mechanism; some models might require you to loosen a small retaining nut at the center. This careful disassembly will provide clear access to the inner workings without causing damage to the aesthetic components or the mechanism itself.
Cleaning and Lubricating

Keeping your wall clock in pristine condition involves regular cleaning and proper lubrication. Start by gently removing the clock’s face and hands to access the inner mechanism. Use a soft brush or compressed air to carefully remove any dust and debris that might hinder the clock’s operation. After cleaning, apply a high-quality lubricant specifically designed for clocks. A tiny drop on the moving parts is sufficient; avoid over-lubricating, as this can attract more dust and eventually gum up the mechanism. This simple maintenance routine not only ensures your wall clock runs smoothly but also prolongs its lifespan, making it a timely and worthwhile task.
Replacing Faulty Parts
When repairing a wall clock, identifying and replacing faulty parts is crucial for restoring its functionality. Begin by carefully inspecting the clock’s mechanism for any worn-out or broken components, focusing on common culprits like the quartz movement or gears. If the movement seems sluggish or the gears are stripped, it’s time for a replacement. To do so, purchase the appropriate parts from a reputable dealer, ensuring compatibility with your clock model. Gently remove the defective piece, using the right tools to avoid damage to other components. Install the new part, double-checking alignments and connections. This careful approach not only fixes your clock but also extends its lifespan, maintaining the accuracy and elegance of your timepiece.
Reassembling and Testing
Once you’ve repaired your wall clock mechanism, reassembling and testing are crucial final steps. Start by carefully placing the movement back into the clock case. Attach each hand sequentially, ensuring they are aligned correctly and not touching each other. Secure the back cover of the clock. Now, it’s time to test: insert a fresh battery and set the time. Observe the clock over the next few hours to ensure the hands move smoothly and the time remains accurate. If the clock starts lagging or skipping, double-check the hand fittings and battery connections. Proper reassembly and rigorous testing ensure your wall clock operates flawlessly, keeping precise time once more.
Conclusion
In conclusion, learning how to fix a wall clock mechanism empowers you to maintain and restore these timeless pieces, ensuring they continue to enhance your space and keep accurate time. Throughout this guide, we’ve walked you through each step—from diagnosing common issues to cleaning, repairing, and finally, reassembling and testing your clock. With the right tools and a bit of patience, you can breathe new life into an old clock, making it a functional centerpiece once again. Remember, while some repairs are straightforward, don’t hesitate to consult a professional for more complex issues. Keep ticking along with confidence in your newfound clock repair skills!