

Welcome to our guide on “How to Set Time on a Digital Wall Clock.” Digital wall clocks are essential for maintaining accurate time in homes and offices. Whether you’ve experienced a power outage, replaced the batteries, or are setting up a new clock, knowing how to set the time is crucial. This guide will provide you with simple, step-by-step instructions to ensure your clock displays the correct time. By following our comprehensive tips, you can easily navigate the process and avoid common pitfalls. Keep your schedule on track and your clock precise with our expert advice on setting time on digital wall clocks.
Understanding Your Digital Wall Clock
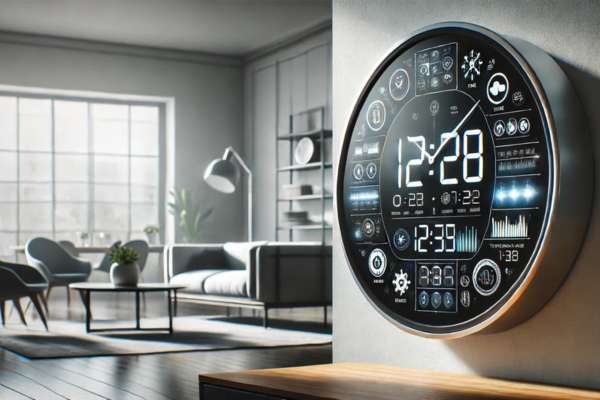
Understanding your digital wall clock is the first step in setting the correct time. A digital wall clock typically includes a display screen, time-setting buttons, and a battery compartment. The display shows the time, and sometimes additional information like the date or temperature. Time-setting buttons, usually located on the back or side, allow you to adjust hours, minutes, and other settings. Digital clocks come in various types, such as basic models with simple time displays, multifunctional clocks with alarms, and advanced versions with smart features like Bluetooth connectivity. Knowing the specific features of your digital wall clock will help you navigate the time-setting process more efficiently.
Tools and Materials Needed
To set the time on a digital wall clock, you need a few essential tools and materials. First, ensure you have the clock’s manual, as it provides model-specific instructions. Fresh batteries are crucial for uninterrupted operation and accurate timekeeping. If your clock plugs into an outlet, make sure it has a stable power source. A small screwdriver might be necessary if you need to access the battery compartment or reset buttons. Additionally, having a reliable time source, like a smartphone or another clock, will help you set the exact time. Gathering these tools and materials ensures a smooth and efficient process for setting your digital wall clock.
Preparation for Setting the Time

Before setting the time on your digital wall clock, proper preparation is essential. Start by ensuring the clock is securely mounted or placed on a stable surface to prevent accidental drops. Gather any necessary tools, such as the clock’s manual and fresh batteries. Make sure the clock is powered off to avoid electrical mishaps. Carefully handle the clock to prevent damage to delicate parts, such as the display and buttons. If the clock requires batteries, insert them correctly, paying attention to polarity. Keeping the workspace clean and free of clutter will help you focus on the task. These steps will ensure a smooth and successful time-setting process for your digital wall clock.
Locating the Time Setting Buttons
When learning “How to Set Time on a Digital Wall Clock,” locating the time-setting buttons is crucial. These buttons are typically found on the back or sides of the clock. Common labels include “Set,” “Mode,” “Clock,” “Time,” or arrow symbols for hour and minute adjustments. For clocks with a minimalist design, the buttons may be recessed or hidden behind a cover. If the buttons are not clearly labeled, refer to the user manual or look for small, indented areas indicating button placement. Additionally, some models may use a combination of buttons to enter the time-setting mode. Familiarizing yourself with your clock’s layout ensures a smoother and faster time-setting process.
Step-by-Step Time Setting Process
Setting the time on your digital wall clock is simple with these step-by-step instructions. First, locate the time-setting buttons, usually labeled “Set,” “Mode,” or similar. Press and hold the “Set” button until the clock’s display starts flashing. Use the “Up” and “Down” buttons to adjust the hour. Pay attention to AM/PM settings if your clock distinguishes between them. After setting the hour, press “Set” again to move to the minute setting. Adjust the minutes using the same buttons. Press “Set” once more to confirm and exit the time-setting mode. Your digital wall clock should now display the correct time. Regularly checking and adjusting the time ensures accurate timekeeping.
Using the Clock’s Manual
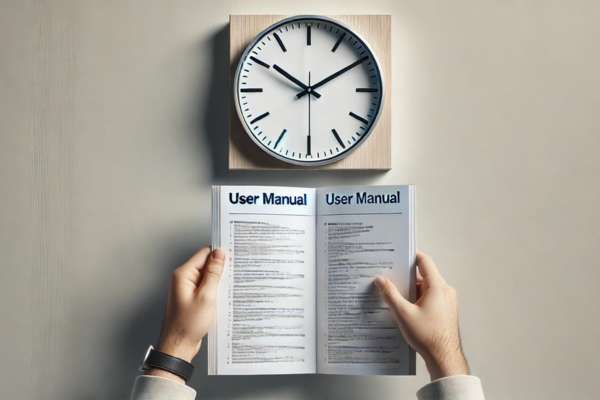
When setting the time on a digital wall clock, consulting the clock’s manual is crucial. The manual provides specific instructions tailored to your clock model, ensuring accurate settings and avoiding potential errors. If the physical manual is lost, you can often find a digital version online. Search for the clock’s brand and model number on the manufacturer’s website or trusted retail sites. Online forums and support pages can also be helpful resources. Using the correct manual ensures you follow the precise steps for setting time, adjusting additional features, and troubleshooting any issues, ultimately keeping your digital wall clock functioning perfectly.
Setting Additional Features
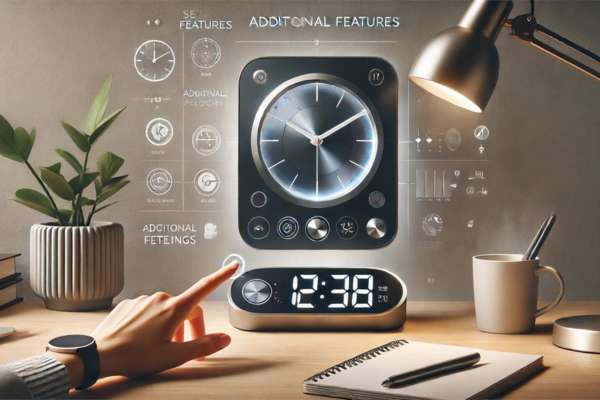
Setting additional features on a digital wall clock, such as alarms, date, and temperature displays, enhances its functionality. To set the alarm, locate the alarm button, press it, and use the hour and minute buttons to set the desired time. For setting the date, find the date button, and adjust the day, month, and year accordingly. Temperature displays, if available, usually require no additional setup but may need calibration according to the manual. Ensure you consult your clock’s manual for specific instructions tailored to your model. Navigate through the settings menu carefully, confirming each entry to avoid errors. Properly setting these features ensures your digital wall clock meets all your timekeeping and informational needs.
Troubleshooting Common Issues
When setting the time on a digital wall clock, you might encounter common issues such as unresponsive buttons, incorrect time display, or settings not being saved. To troubleshoot, ensure the clock has fresh batteries or a stable power connection. If buttons are unresponsive, try holding them for a few seconds or pressing more firmly. Double-check the AM/PM settings to avoid incorrect time display. If the clock fails to save settings, look for a backup battery and replace it if needed. Always consult the manual for model-specific instructions. By following these tips, you can ensure the time is set correctly and maintained accurately, keeping your schedule on track. and maintained accurately.
Conclusion
In conclusion, knowing “How to Set Time on Digital Wall Clock” is essential for maintaining accurate time in your home or office. By following the step-by-step instructions and troubleshooting common issues, you can ensure your clock is always correct and reliable. Regular checks and timely adjustments help keep your schedule on track and prevent any disruptions. Whether you are setting up a new clock or resetting after a power outage, these simple tips make the process easy and efficient. Ensure your digital wall clock serves you well by mastering the time-setting process and maintaining it properly for consistent accuracy.