

Setting a wall clock correctly is crucial for maintaining an organized and timely household. How to Set a Wall Clock. is a common question for many, whether you’re installing a new clock or adjusting an existing one. This guide provides easy-to-follow steps, ensuring your clock is accurate and well-placed. From choosing the right location to making final adjustments, we’ve got you covered. Learn the best practices for battery installation, time setting, and mounting to keep your clock ticking perfectly. Follow our comprehensive guide to enjoy a functional and aesthetically pleasing wall clock in your home. Keep reading to master the art of setting a wall clock efficiently.
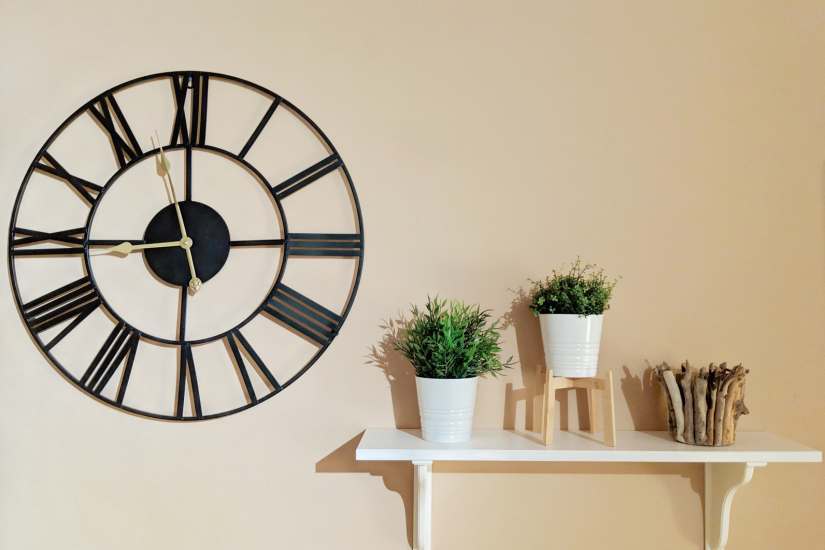
Understanding Different Types of Wall Clocks
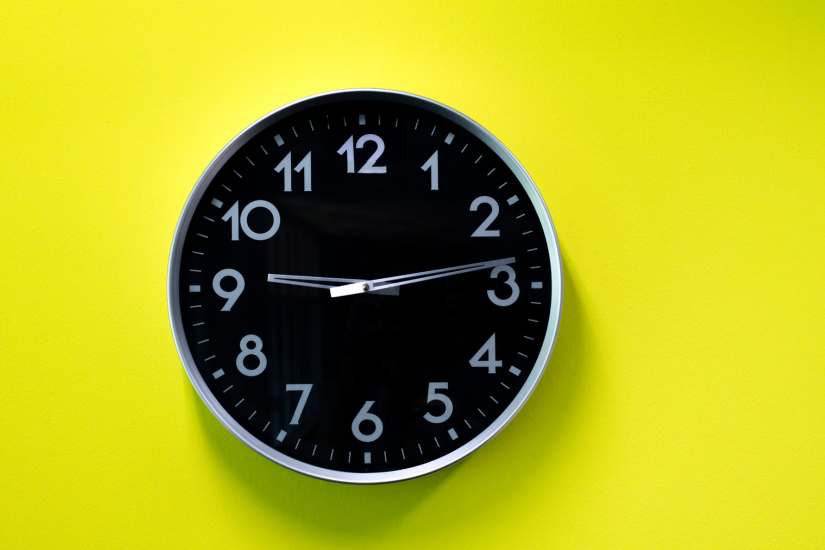
Understanding different types of wall clocks is essential for setting them correctly. Mechanical wall clocks, known for their classic charm, require manual winding and careful handling. Digital wall clocks, on the other hand, offer modern convenience with easy-to-use settings and accurate timekeeping. Each type has unique setting mechanisms that suit various needs and preferences. Mechanical clocks often involve adjusting gears and hands, while digital clocks use buttons or touchscreens. Knowing these differences helps ensure accurate and reliable timekeeping in your home. Whether you prefer the timeless appeal of a mechanical clock or the simplicity of a digital one, understanding their mechanisms is key to setting them properly.
Preparing to Set the Wall Clock
Before setting a wall clock, gather the necessary tools and materials: batteries, a step ladder, and a screwdriver. Ensure you have the correct battery type for your clock. Safety is paramount when handling and climbing to reach high places. Use a sturdy step ladder and ensure it’s placed on a flat surface. Avoid overreaching while on the ladder; ask for assistance if needed. Handle tools carefully to prevent accidents. Wearing non-slip shoes can also provide extra stability. By preparing thoroughly and following these safety tips, you can set your wall clock efficiently and securely. Proper preparation ensures a smooth and successful clock-setting process.
Installation of the Wall Clock (if not already installed)
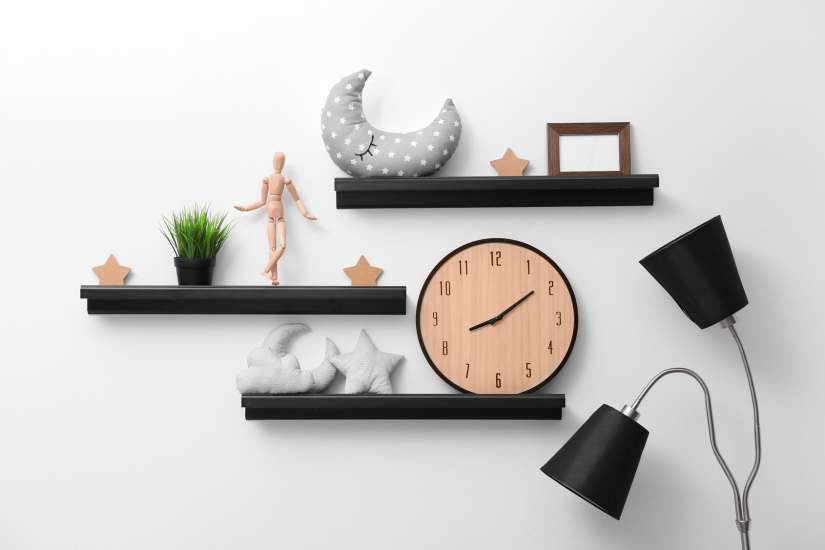
Installing a wall clock correctly is essential for optimal viewing and aesthetics. Begin by choosing a central location that is easily visible from various angles. Avoid placing it in direct sunlight or near sources of heat to prevent damage. Use a stud finder to locate a secure spot on the wall. Mark the desired height, ideally at eye level. Drill a pilot hole and insert a wall anchor for stability. Attach the mounting bracket securely with screws. Hang the clock, ensuring it is level and firmly attached. Double-check its stability and make any necessary adjustments. Following these steps ensures your wall clock is both functional and a stylish addition to your space.
Setting the Time on a Mechanical Wall Clock

Setting the time on a mechanical wall clock requires careful attention to detail. First, if your clock has a protective casing, gently open it to access the hands. Avoid touching the delicate mechanisms inside. Next, manually adjust the hands by slowly turning the minute hand clockwise to the correct time. Never move the hands counterclockwise as it can damage the clock’s internal gears. Ensure the time is set precisely, as mechanical clocks rely on accurate settings for optimal performance. Precision in setting the time not only ensures your clock functions correctly but also maintains its longevity and reliability. Properly setting your mechanical wall clock enhances its accuracy and aesthetic appeal.
Setting the Time on a Digital Wall Clock
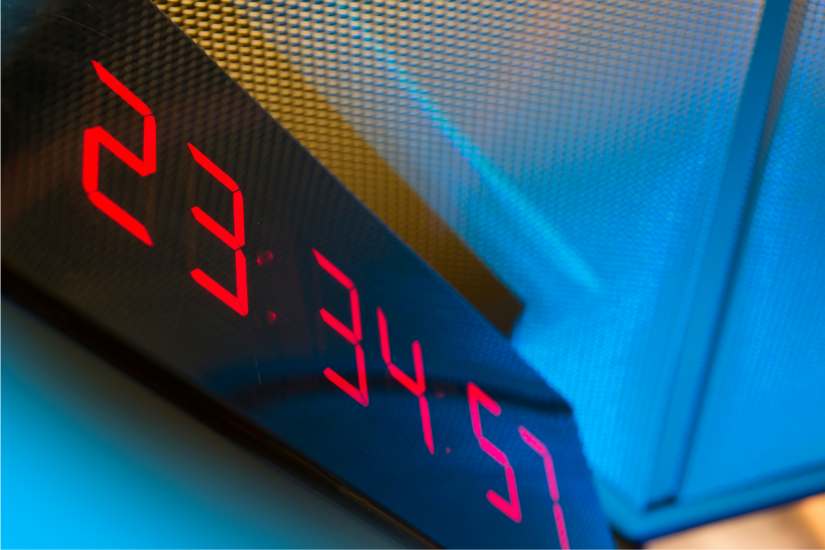
Setting the time on a digital wall clock is a straightforward process that ensures accurate timekeeping. Begin by locating the settings menu, usually accessed by pressing a “Mode” or “Settings” button. Once in the settings menu, use the “Up” and “Down” buttons to navigate and adjust the time. Specific interfaces may vary, but most digital clocks feature clearly labeled buttons such as “Hour” and “Minute” for precise adjustments. Hold the appropriate button to scroll through the numbers quickly. Confirm your settings by pressing the “Set” or “Enter” button. Following these simple steps will keep your digital wall clock running accurately and efficiently.
Additional Settings (if applicable)
In addition to setting the time, many wall clocks come with additional features such as chimes, alarms, or day/date functions. To set these, carefully follow the manufacturer’s instructions, usually provided in the user manual. Chimes and alarms often require specific settings, so ensure you understand the process to avoid any issues. For the most accurate timekeeping, consider synchronizing your wall clock with an atomic clock. This can be done manually by adjusting your clock at the same time as the atomic clock’s signal, ensuring precision. Regularly updating these settings will help maintain the accuracy and functionality of your wall clock, enhancing its usefulness in your daily life.
Troubleshooting Common Issues
When setting a wall clock, troubleshooting common issues is essential. If your clock runs slow or fast, the first step is to check the battery. Replace old or weak batteries with fresh, high-quality ones, ensuring proper installation. For mechanical clocks, adjust the pendulum or clock hands carefully to correct time discrepancies. Regular maintenance, like cleaning the clock mechanism and checking for dust or debris, can prevent issues. Ensure the clock is mounted securely and level on the wall, as an uneven placement can affect its accuracy. By addressing these common problems, you can keep your wall clock running smoothly and accurately, enhancing its longevity and performance.
Maintenance Tips for Wall Clocks
Regular maintenance is essential to ensure the longevity and accuracy of your wall clock. To keep it in perfect working condition, start with a monthly routine of cleaning and dusting. Use a soft, dry cloth to gently wipe the clock’s surface, avoiding any harsh chemicals that could damage the finish. Pay special attention to the clock’s hands and face, as dust can accumulate and affect its performance. Check the batteries every few months, replacing them as needed to prevent leakage and maintain precise timekeeping. Ensure the clock remains level on the wall, as a tilted clock can run inaccurately. With these simple maintenance tips, your wall clock will continue to function beautifully and accurately for years.
Final Thought
Understanding How to Set a Wall Clock. is essential for maintaining a functional and aesthetically pleasing timepiece in your home. By following our comprehensive guide, you can ensure your wall clock is accurately set, securely mounted, and well-maintained. From choosing the perfect location to regular cleaning and battery checks, each step plays a crucial role in the longevity and precision of your clock. Keep these tips in mind, and you’ll enjoy the benefits of a properly set wall clock that enhances your home’s decor and keeps you on time. Thank you for reading, and happy clock setting!